Cold brew coffee has revolutionized the way coffee lovers enjoy their favorite beverage. This smooth, low-acid brewing method creates a refreshing drink that’s perfect for any season, especially when you crave bold flavors without the bitterness.
Whether you’re a seasoned home barista or just starting your cold brew journey, mastering this technique requires understanding the nuances that separate mediocre coffee from exceptional brews. Many enthusiasts encounter challenges along the way, from weak flavor profiles to overly bitter results, but each issue has a solution waiting to transform your brewing game.
This comprehensive troubleshooting guide will walk you through every aspect of cold brew preparation, helping you identify common problems and implement practical solutions. By the end, you’ll have the knowledge to consistently create cafe-quality cold brew that rivals any specialty coffee shop, all from the comfort of your own kitchen.
Understanding the Cold Brew Foundation ☕
Cold brew differs fundamentally from traditional hot coffee brewing methods. Instead of using heat to extract flavors quickly, cold brew relies on time and temperature to slowly draw out the coffee’s natural compounds. This process typically takes 12 to 24 hours, resulting in a concentrate that’s smooth, naturally sweet, and significantly less acidic than hot-brewed coffee.
The cold extraction process prevents the release of certain oils and acids that contribute to bitterness and acidity in hot coffee. This makes cold brew an excellent choice for people with sensitive stomachs or those who find traditional coffee too harsh. The concentrate can be diluted with water, milk, or alternative beverages, making it incredibly versatile for various coffee creations.
Understanding this fundamental difference is crucial because it means the rules that apply to hot coffee brewing don’t always translate to cold brew. Temperature, grind size, brewing time, and coffee-to-water ratios all play different roles in the final product’s quality.
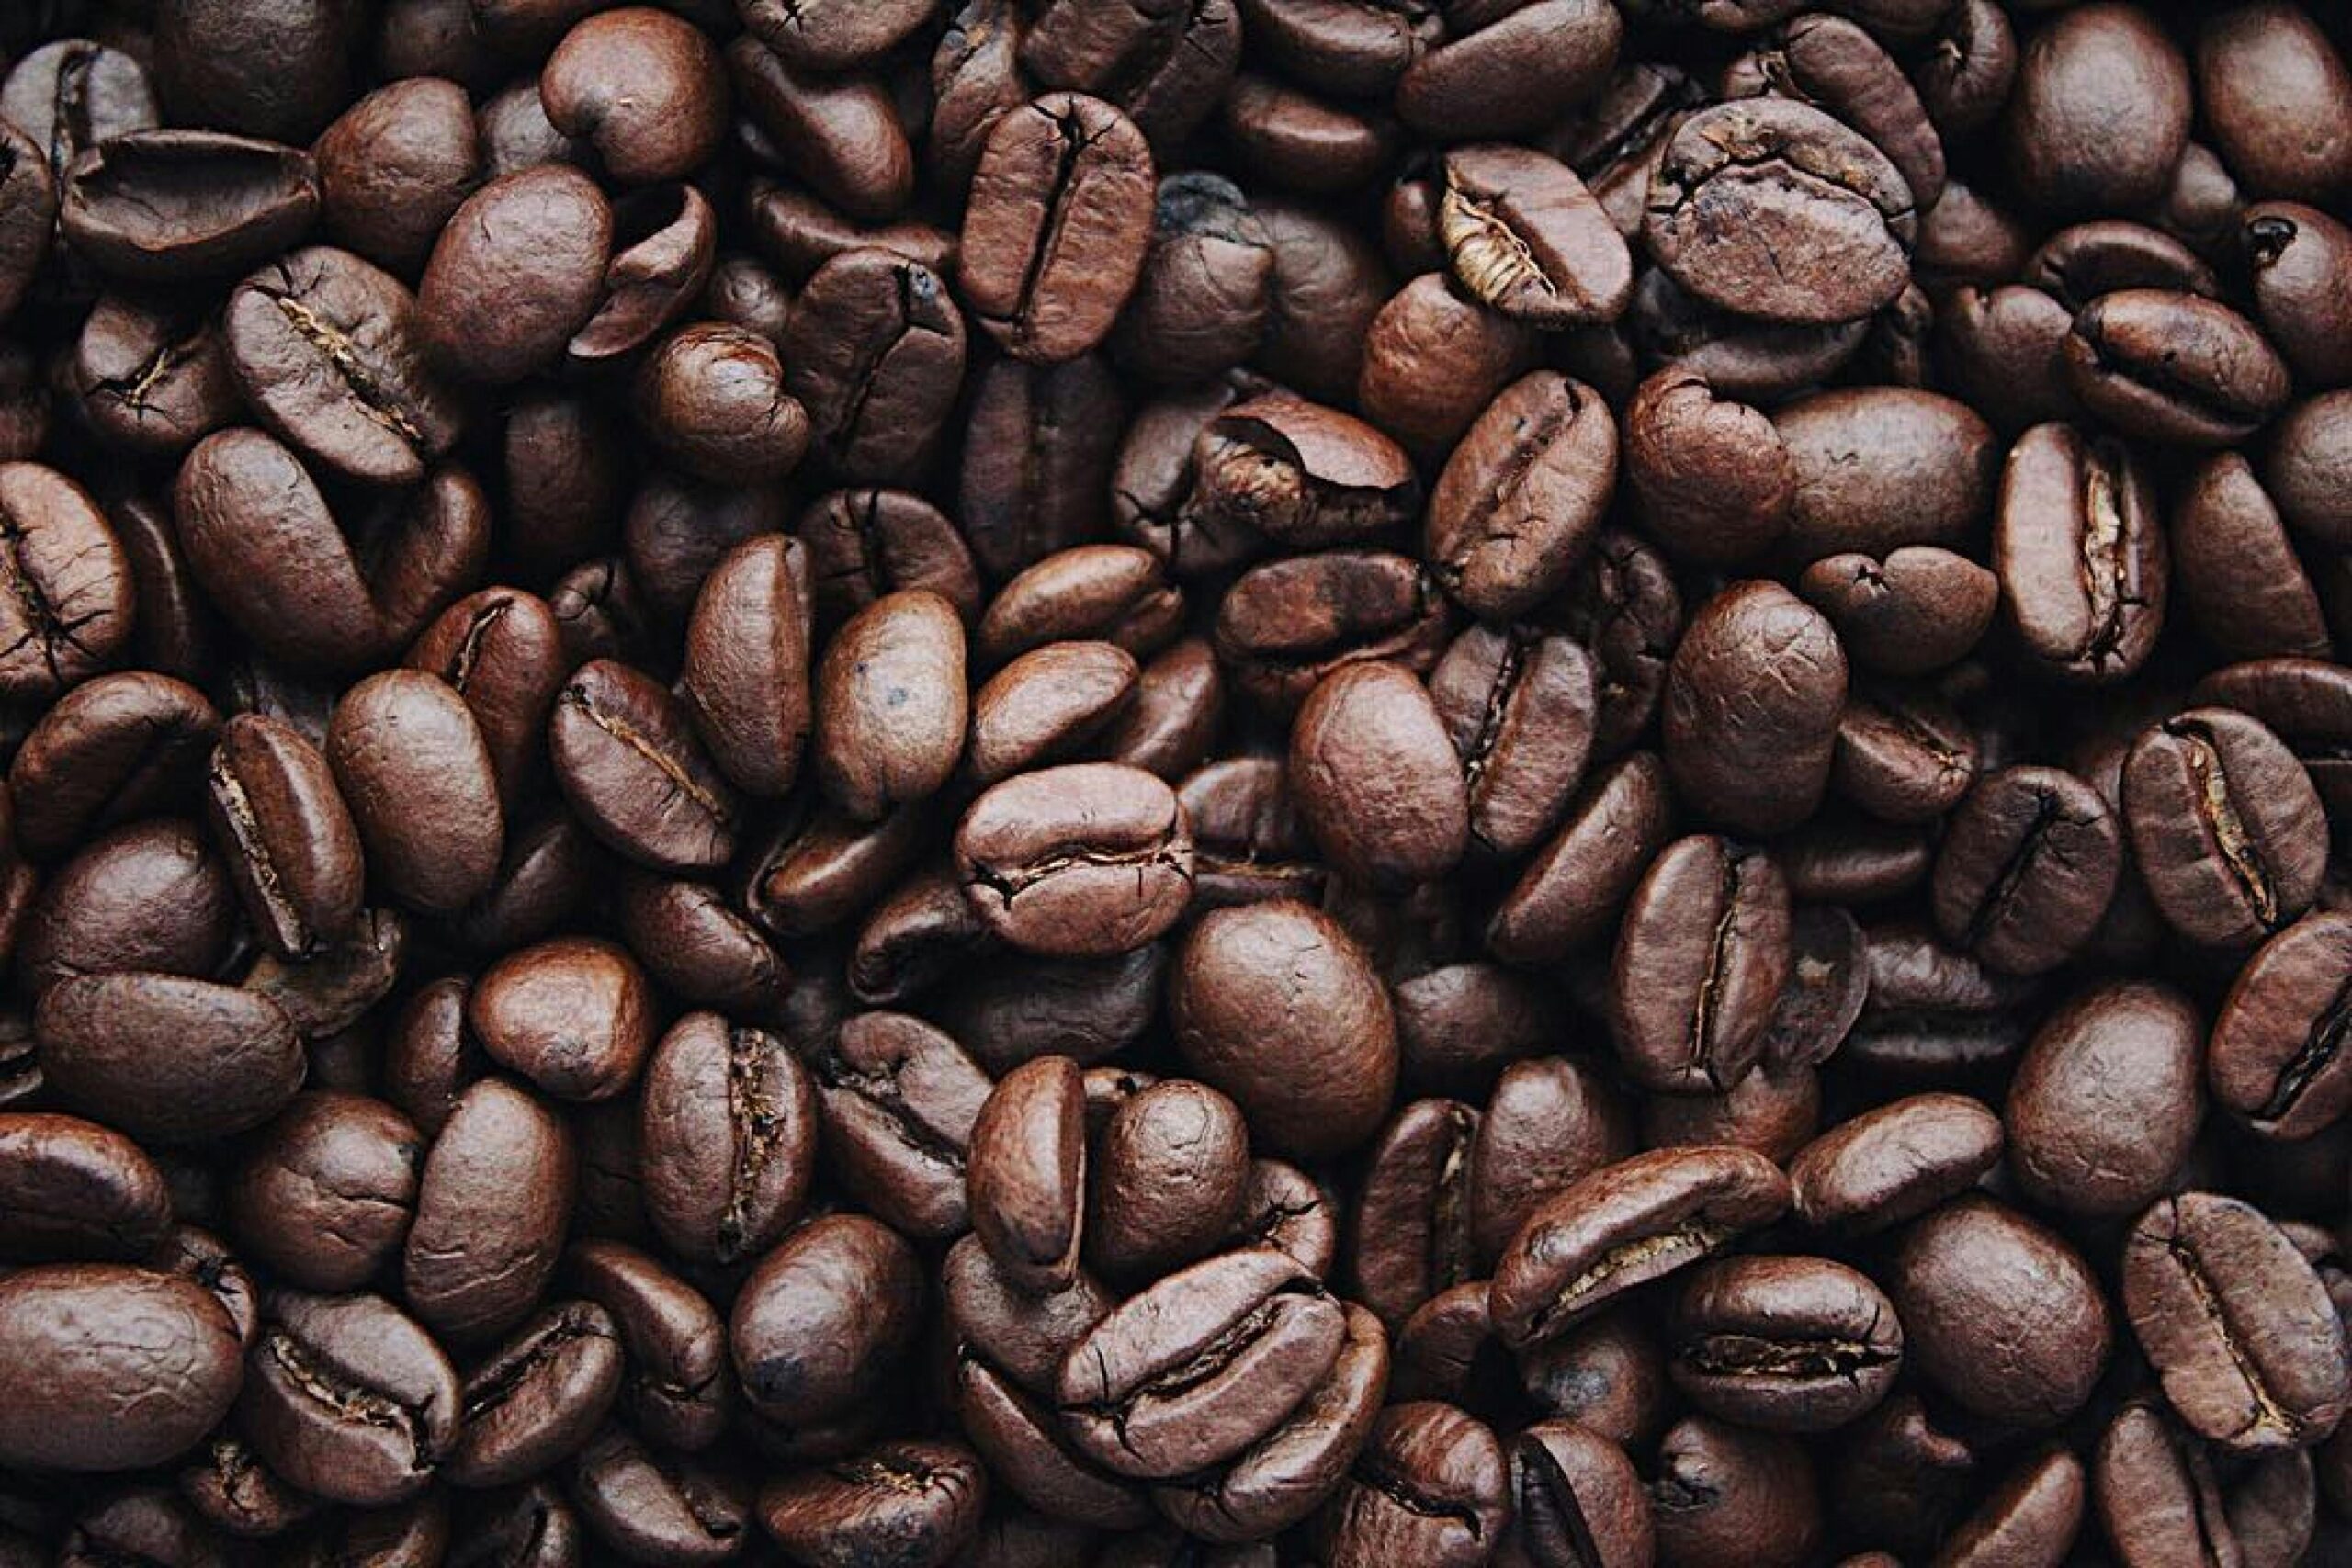
Selecting the Right Coffee Beans 🌱
The foundation of exceptional cold brew starts with choosing quality coffee beans. While you can technically use any coffee for cold brew, certain characteristics produce better results. Medium to dark roasts typically work best because they provide bold, chocolatey notes that shine through the cold extraction process.
Single-origin coffees can offer unique flavor profiles, while blends provide consistency and balanced complexity. Look for beans with tasting notes like chocolate, nuts, caramel, or fruit, as these flavors become more pronounced in cold brew. Avoid extremely light roasts, which can taste sour or grassy when cold-brewed, as the extended steeping time emphasizes their more delicate, acidic characteristics.
Freshness matters tremendously. Purchase whole beans and grind them just before brewing. Coffee begins losing flavor within minutes of grinding, so pre-ground coffee will never deliver the same vibrant taste as freshly ground beans. Aim to use beans roasted within the past two to four weeks for optimal flavor.
Storage Solutions for Maximum Freshness
Proper storage extends your beans’ lifespan significantly. Keep whole beans in an airtight container away from light, heat, and moisture. Avoid storing coffee in the refrigerator or freezer, as temperature fluctuations and condensation can compromise flavor. A cool, dark pantry or cupboard works perfectly for maintaining bean quality between brewing sessions.
Mastering the Perfect Grind Size 🔧
Grind size might be the most critical variable in cold brew success. The ideal grind resembles coarse sea salt or raw sugar crystals. This coarse consistency allows water to flow around the grounds easily, extracting flavor gradually without over-extracting bitter compounds that create unpleasant tastes.
If your grind is too fine, you’ll experience over-extraction, resulting in bitter, muddy coffee with excessive sediment. Fine grounds also make filtering nearly impossible, leaving you with cloudy, gritty cold brew that’s unpleasant to drink. Conversely, if your grind is too coarse, under-extraction occurs, producing weak, sour coffee lacking the bold character cold brew is known for.
Invest in a quality burr grinder rather than a blade grinder. Burr grinders produce consistent particle sizes, essential for even extraction. Blade grinders create uneven grounds with both powder-fine particles and large chunks, leading to simultaneous over-extraction and under-extraction in the same batch.
Nailing the Coffee-to-Water Ratio 📊
The standard starting ratio for cold brew concentrate is 1:4 (coffee to water), meaning one cup of coffee grounds to four cups of water. This creates a strong concentrate that you’ll dilute before drinking. For a ready-to-drink cold brew, use a 1:8 ratio instead.
These ratios serve as starting points, not absolute rules. Personal preference plays a significant role in determining your ideal ratio. If you find your cold brew too strong, either use less coffee or more water in your next batch. If it’s too weak, increase the coffee amount or decrease the water.
Adjustment Guidelines
- For bolder flavor: Increase coffee by 10-15% or decrease water proportionally
- For milder taste: Decrease coffee by 10-15% or increase water proportionally
- For concentrate dilution: Mix 1 part concentrate with 1-2 parts water, milk, or ice
- For consistency: Measure by weight rather than volume for precision
Timing Your Brew to Perfection ⏰
Brewing time dramatically affects cold brew’s final taste profile. The sweet spot for most cold brew recipes falls between 12 and 18 hours. Shorter steep times (8-12 hours) produce lighter, brighter coffee with more acidity and delicate flavors. Longer steep times (18-24 hours) create darker, bolder coffee with stronger, sometimes overwhelming flavors.
Room temperature brewing extracts faster than refrigerator brewing. If you brew at room temperature (68-72°F), start checking your cold brew around 12 hours. For refrigerator brewing (36-40°F), you may need 18-24 hours to achieve similar extraction levels. Many coffee enthusiasts prefer refrigerator brewing because it provides more control and reduces the risk of bacterial growth.
Over-brewing beyond 24 hours almost always results in unpleasant bitterness and woody, stale flavors. Set a timer or alarm to remind yourself when to strain your cold brew, ensuring you don’t accidentally let it steep too long.
Water Quality and Temperature Considerations 💧
Water comprises over 98% of your final cold brew, making its quality paramount. Tap water containing high mineral content, chlorine, or other impurities will negatively impact taste. If your tap water doesn’t taste good plain, it won’t make good coffee.
Filtered water provides the best foundation for cold brew. Carbon filters remove chlorine and many contaminants while retaining beneficial minerals that enhance coffee extraction. Avoid distilled water, which lacks minerals necessary for proper extraction and can produce flat-tasting coffee.
Starting water temperature also matters. Cold or room temperature water works best. Never use hot water for cold brew, as this initiates hot coffee extraction, defeating the purpose and creating undesirable bitter flavors immediately.
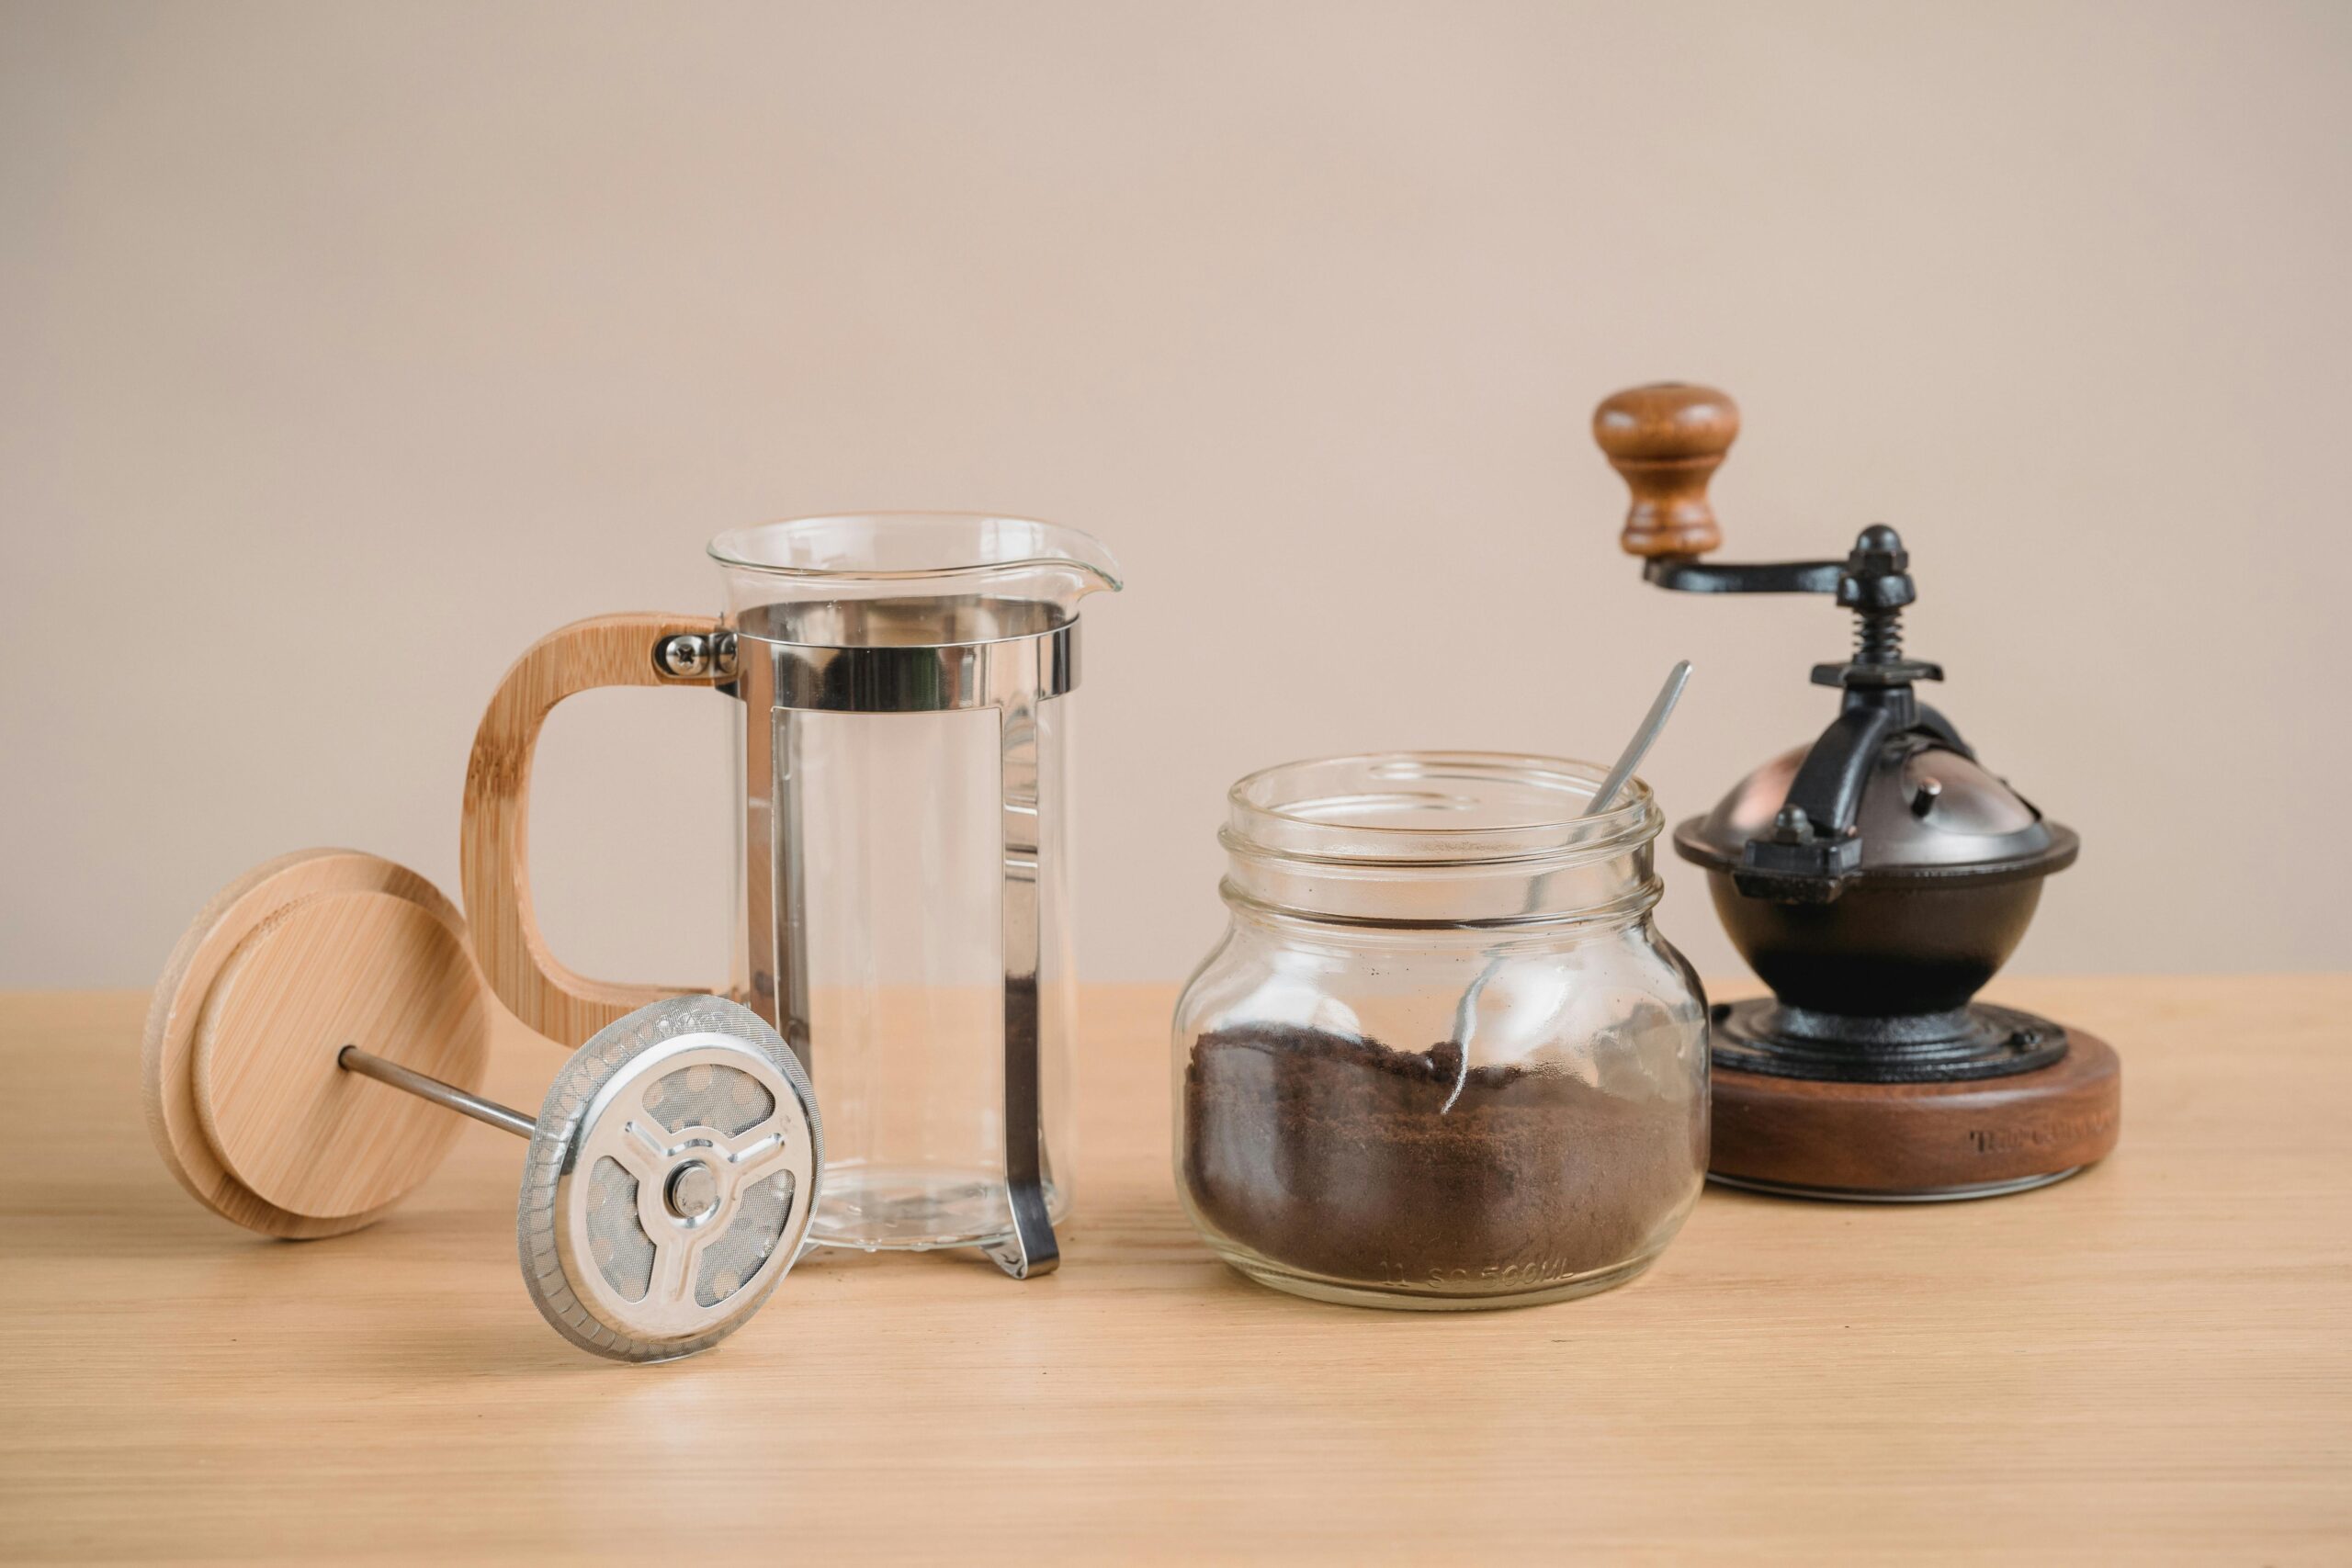
Choosing Your Brewing Method 🏺
Several methods exist for making cold brew, each with advantages and disadvantages. The immersion method involves steeping grounds directly in water, then filtering. This approach is simple, requires minimal equipment, and produces consistently excellent results. You can use any container with a lid, from mason jars to dedicated cold brew makers.
The slow drip method, also called Kyoto-style or Dutch coffee, drips cold water through grounds slowly over several hours. This technique produces exceptionally clean, nuanced coffee but requires specialized equipment and careful monitoring. It’s beautiful to watch but less practical for daily brewing.
French press cold brew offers convenience and simplicity. Add coffee and water to the carafe, let it steep, then press and pour. The built-in filter makes straining easy, though it allows more sediment and oils through than paper filters, creating richer body but cloudier appearance.
Equipment Comparison
| Method | Ease of Use | Cleanup | Result Quality |
|---|---|---|---|
| Mason Jar + Filter | Very Easy | Moderate | Excellent |
| French Press | Very Easy | Easy | Very Good |
| Cold Brew Maker | Easy | Easy | Excellent |
| Slow Drip Tower | Moderate | Difficult | Outstanding |
Filtering Techniques for Crystal-Clear Results ✨
Proper filtration separates exceptional cold brew from mediocre versions. The goal is removing all grounds while retaining the oils and compounds that give cold brew its characteristic smoothness. Multiple filtration methods can achieve this, with varying degrees of clarity.
Paper filters produce the clearest cold brew by removing fine particles and most oils. Use unbleached coffee filters, cheesecloth, or dedicated cold brew filter bags. For best results, perform double filtration: strain through a mesh sieve first to remove large grounds, then filter through paper to catch fine particles.
Metal filters in French presses or reusable mesh filters allow more oils through, creating fuller body and slightly cloudy appearance. This isn’t necessarily worse—many prefer the richer mouthfeel these filters provide. Choose based on your texture preference rather than assuming clearer always means better.
Pro Filtration Tips
- Let grounds settle for 5 minutes before filtering to make the process easier
- Pour slowly to avoid disturbing sediment at the bottom
- Wet paper filters before use to prevent absorbing coffee flavor
- Save time by filtering directly into your storage container
Troubleshooting Common Cold Brew Problems 🔍
Weak, watery cold brew typically results from insufficient coffee, too-coarse grind, or inadequate brewing time. Increase your coffee-to-water ratio by 20%, grind slightly finer (still coarse, just not as coarse), or extend brewing time by 2-4 hours. Sometimes the issue is over-dilution—reduce the amount of water, ice, or milk you add when serving.
Bitter, harsh cold brew indicates over-extraction from too-fine grind, excessive brewing time, or over-agitation during steeping. Coarsen your grind, reduce steeping time, and avoid stirring after the initial mixing. If bitterness persists, try brewing in the refrigerator instead of at room temperature to slow extraction.
Sour, acidic cold brew suggests under-extraction. This happens with too-coarse grind, insufficient brewing time, or too-cold water temperature. Grind finer, increase steeping time, or try room temperature brewing instead of refrigerator brewing for faster extraction.
Cloudy, muddy cold brew results from grind size that’s too fine or inadequate filtration. Use a coarser grind and improve your filtering technique by straining through cheesecloth or paper filters. Let the cold brew settle in the refrigerator overnight, then carefully decant the clear liquid, leaving sediment behind.
Storage and Shelf Life Maximization 🧊
Properly stored cold brew concentrate lasts 7-10 days in the refrigerator, though flavor peaks within the first 3-5 days. Store in airtight glass containers to prevent absorption of refrigerator odors and maintain freshness. Avoid plastic containers when possible, as they can impart unwanted flavors over time.
Diluted cold brew has a shorter shelf life of 2-3 days because dilution accelerates oxidation and flavor degradation. For best results, store concentrate undiluted and dilute portions as needed. This maximizes freshness and allows you to adjust strength based on daily preferences.
Freezing cold brew concentrate in ice cube trays offers creative storage solutions. Use frozen coffee cubes in future cold brew servings to avoid dilution, or add them to smoothies for coffee flavor. Frozen concentrate maintains quality for up to 2 months, though some subtle flavor changes may occur.
Elevating Your Cold Brew Experience 🌟
Once you’ve mastered basic cold brew, experimentation opens endless possibilities. Flavor infusions during brewing add complexity without artificial additives. Try adding vanilla beans, cinnamon sticks, cardamom pods, or orange peels during the steeping process for natural flavor enhancement. Remove these additions before filtering for clean, aromatic cold brew.
Creating coffee ice cubes prevents dilution while maintaining coffee intensity as ice melts. Make cubes from concentrate, diluted cold brew, or even milk for different effects. These simple additions significantly improve the drinking experience, especially during warm weather when ice is essential.
Experiment with serving vessels and presentation. Serve over crushed ice for fast chilling and appealing aesthetics, or use large ice spheres for slow melting and sustained coldness. Garnish with coffee beans, citrus twists, or fresh herbs for visual appeal and aromatic complexity.
Sustainable Practices for the Conscious Coffee Lover 🌍
Cold brew can be environmentally friendly with mindful practices. Used coffee grounds make excellent compost material, returning nutrients to soil for gardens. They also work as natural odor absorbers, pest deterrents, and gentle abrasives for cleaning stubborn stains.
Choose reusable filters over disposable options when possible. Metal mesh filters and washable cloth filters eliminate waste while performing excellently. If you prefer paper filters, look for unbleached, compostable options that minimize environmental impact.
Support sustainable coffee producers by purchasing fair-trade, organic, or direct-trade beans when budget allows. These certifications ensure farmers receive fair compensation and employ environmentally responsible growing practices, making your morning coffee a force for positive change.

Building Your Perfect Cold Brew Routine ☀️
Consistency creates exceptional cold brew. Develop a routine that works with your schedule, whether that means brewing Sunday evenings for the week ahead or preparing fresh batches every few days. Document your recipe—coffee amount, water volume, grind setting, and brewing time—so you can replicate successful batches.
Keep a coffee journal noting what worked and what didn’t. Record brewing parameters, bean varieties, and taste impressions. This practice accelerates your learning curve and helps identify patterns in your preferences. Over time, you’ll develop intuition about adjustments needed for different beans or conditions.
Share your cold brew with friends and family to gather feedback and spread the joy of exceptional coffee. Host informal tastings comparing different brewing times, ratios, or bean varieties. These social experiences deepen your appreciation while building community around coffee culture.
Mastering cold brew is a journey of continuous refinement rather than a destination. Each batch teaches valuable lessons about extraction, flavor development, and personal preferences. Embrace experimentation, learn from mistakes, and celebrate successes. With patience and practice, you’ll consistently create smooth, bold, refreshing cold brew that exceeds anything available in stores, delivering cafe-quality coffee tailored perfectly to your unique taste preferences every single time.