Craving that perfect espresso shot without emptying your wallet? You’re not alone. Building an affordable home espresso setup is entirely possible with the right knowledge and smart choices.
The world of espresso can seem intimidating, especially when you encounter professional machines costing thousands of dollars. However, the truth is that exceptional espresso doesn’t require a premium price tag. Understanding the fundamentals of espresso extraction, knowing which equipment truly matters, and learning where you can save money will transform your coffee experience. This comprehensive guide will walk you through creating a budget-friendly espresso workflow that delivers café-quality results at home, proving that financial constraints shouldn’t stand between you and your perfect cup.
Understanding the Core Components of Espresso Making ☕
Before diving into specific budget recommendations, it’s essential to understand what actually makes great espresso. At its core, espresso is a concentrated coffee beverage created by forcing pressurized hot water through finely-ground coffee. The quality of your final cup depends on several interconnected factors: the coffee beans themselves, grind consistency, water temperature, extraction pressure, and timing.
Many beginners make the mistake of investing heavily in an espresso machine while neglecting other crucial elements. The reality is that your grinder is arguably more important than your machine. A consistent grind size ensures even extraction, which directly impacts flavor. Meanwhile, fresh, quality beans provide the foundation for any excellent espresso, regardless of equipment cost.
When building your affordable setup, you’ll need to balance these components thoughtfully. The good news is that entry-level equipment has improved dramatically in recent years, making genuinely good espresso accessible to budget-conscious enthusiasts.
The Budget-Friendly Espresso Machine Options 💰
Your espresso machine is the centerpiece of your setup, but it doesn’t need to be the most expensive component. Several affordable options can produce excellent results when paired with proper technique and quality beans.
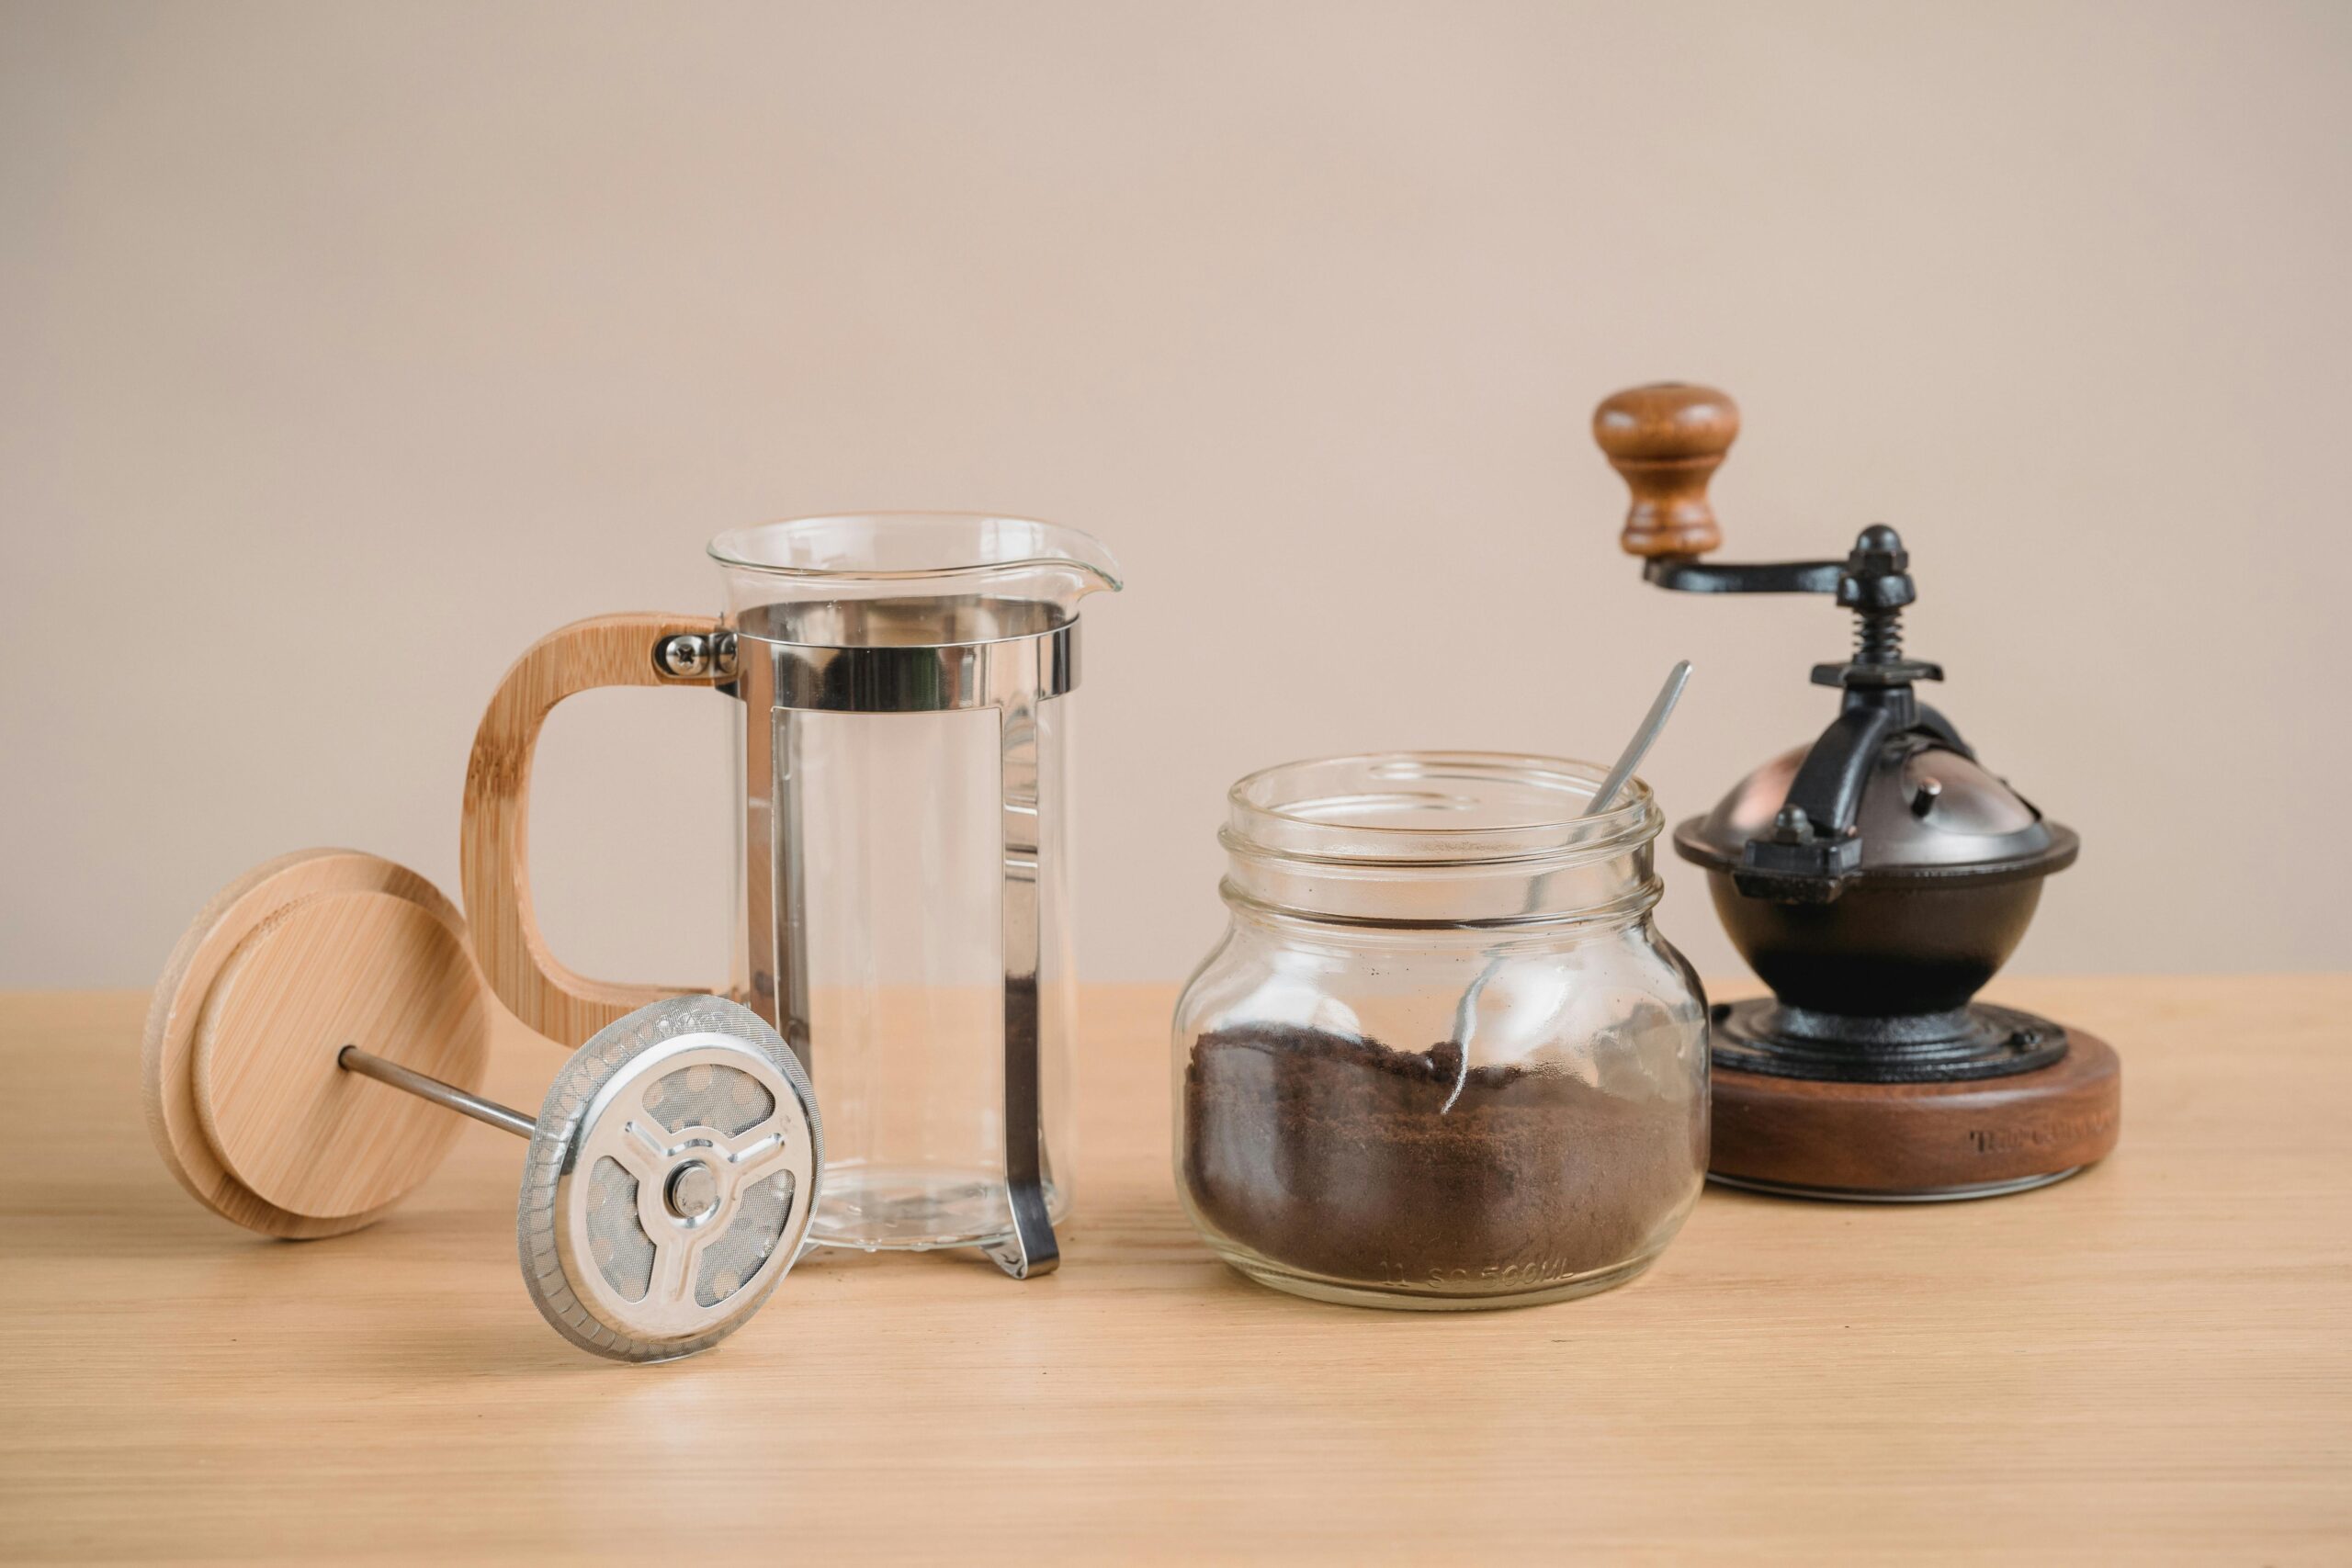
Manual Espresso Makers: Maximum Value
Manual espresso makers represent the most budget-friendly entry point into espresso. Devices like the Flair Classic or ROK Espresso Maker require no electricity, relying instead on your manual pressure to extract espresso. These machines typically cost between $100-$200 and produce surprisingly impressive results.
The advantages go beyond price. Manual machines teach you espresso fundamentals through hands-on experience. You’ll develop an intuitive understanding of pressure, resistance, and extraction that automatic machines obscure. They’re also incredibly portable and require minimal maintenance.
The trade-off is convenience and learning curve. You’ll need a separate method to heat water, and achieving consistency takes practice. However, for budget-conscious enthusiasts willing to invest time rather than money, manual machines offer exceptional value.
Entry-Level Pump Machines
If you prefer a more traditional approach, entry-level pump-driven machines like the DeLonghi Dedica or Breville Bambino start around $300-$400. These machines automate temperature control and pressure generation, simplifying the espresso-making process considerably.
When evaluating budget pump machines, prioritize temperature stability and build quality over flashy features. A simple machine that maintains consistent temperature will outperform a feature-packed model with poor thermal management. Look for machines with brass or stainless steel boilers rather than aluminum, and check user reviews for reliability feedback.
Pressurized portafilter baskets, common in budget machines, can help compensate for grinder limitations by creating artificial crema. However, you’ll eventually want to upgrade to non-pressurized baskets for better flavor control as your skills develop.
The Grinder: Your Most Important Investment 🎯
If there’s one area where you should stretch your budget, it’s the grinder. Inconsistent grinding creates uneven extraction, producing bitter, sour, or weak espresso regardless of your machine quality. Unfortunately, this is where many beginners sabotage their espresso journey by pairing a decent machine with an inadequate grinder.
Hand Grinders: Quality on a Budget
Manual hand grinders offer the best quality-to-price ratio for espresso. Models like the 1Zpresso JX-Pro or Timemore Chestnut C2 provide espresso-capable grind consistency for $100-$200. These grinders feature quality burr sets that rival electric grinders costing several times more.
Hand grinding requires physical effort—expect 30-60 seconds of cranking per shot. However, this small inconvenience buys you significantly better grind quality within a tight budget. Hand grinders are also quiet, portable, and essentially maintenance-free.
Electric Grinder Considerations
Electric grinders bring convenience but require a higher budget for acceptable espresso performance. Avoid blade grinders and cheap pseudo-burr grinders entirely—they cannot achieve the consistency espresso demands. True entry-level espresso grinders like the Baratza Encore (with espresso burr upgrade) or Eureka Mignon Notte start around $200-$300.
When budgeting for an electric grinder, consider retention (coffee stuck in the grinder), adjustment mechanism precision, and burr quality. Stepless or micro-stepped adjustment systems allow fine-tuning essential for espresso extraction.
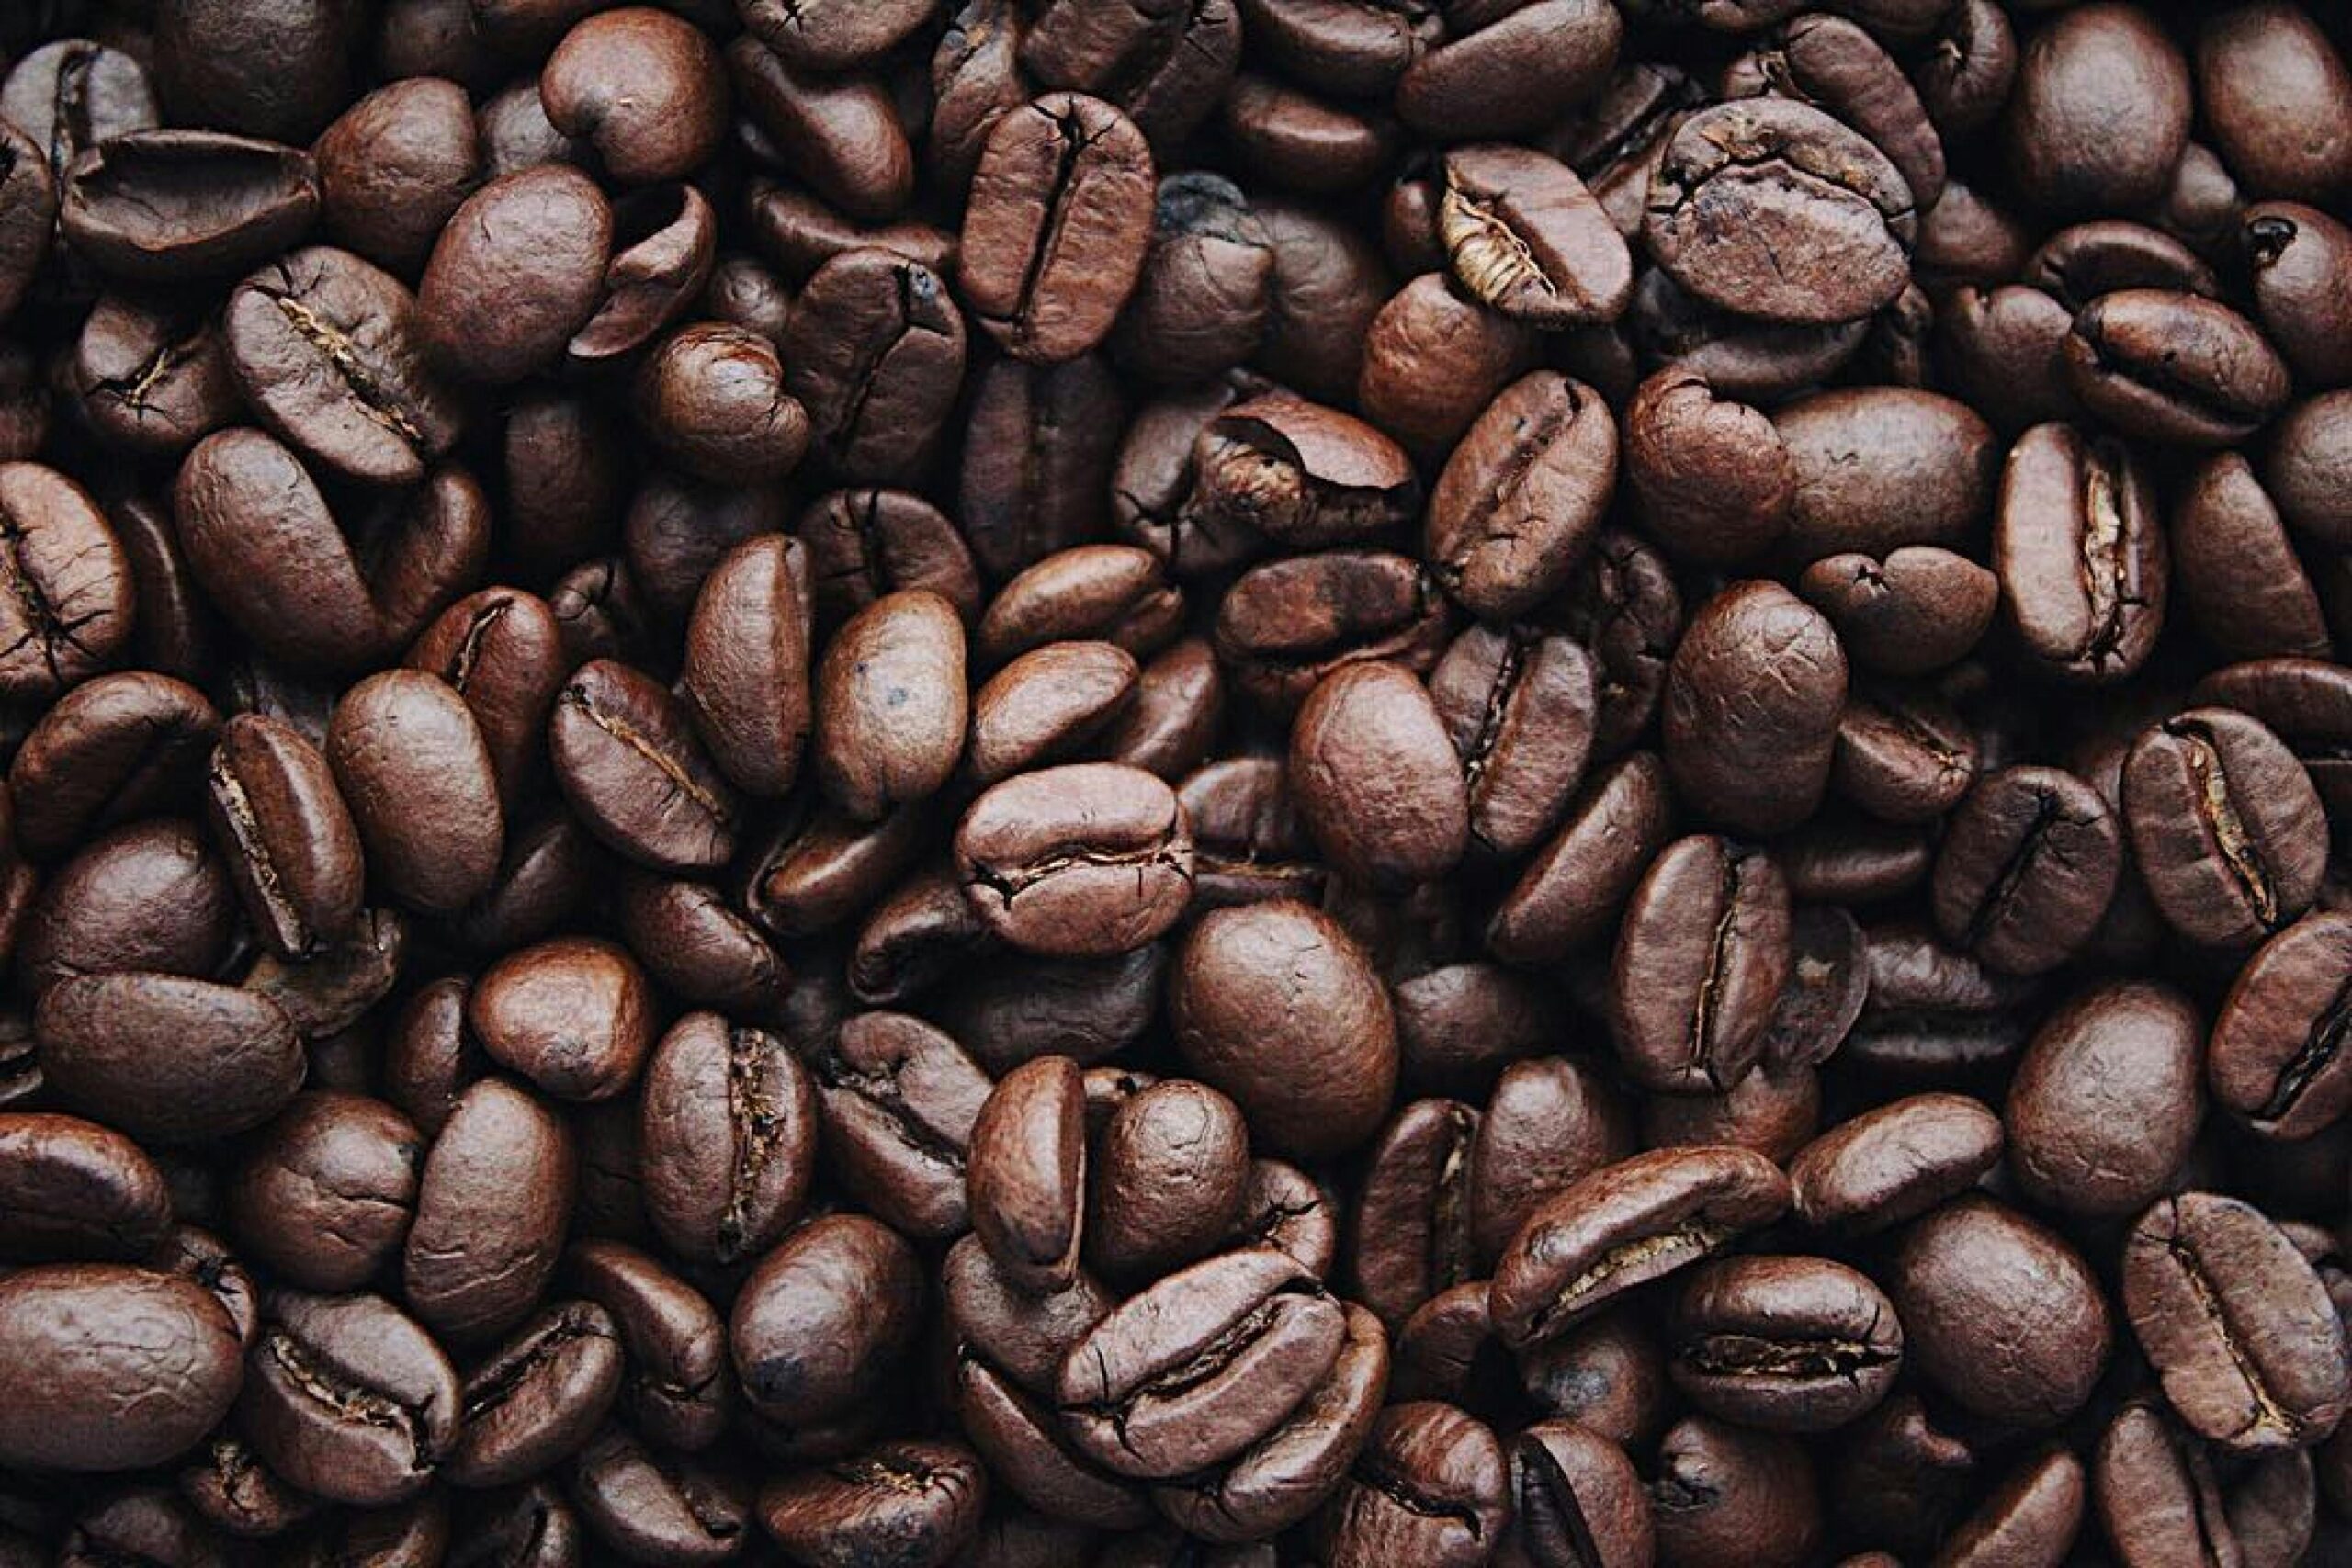
Sourcing Quality Coffee Without Breaking the Bank 🌱
Even the best equipment produces disappointing results with stale or low-quality beans. Fortunately, you don’t need expensive specialty coffee to enjoy great espresso—you just need fresh, properly sourced beans.
Local roasters often offer better value than premium online retailers. Many provide previous-season or slightly older beans at significant discounts while still maintaining freshness within acceptable ranges. Building a relationship with local roasters can also lead to valuable brewing advice and occasional deals.
Consider purchasing slightly larger quantities to benefit from bulk pricing, but only if you’ll consume them within 2-3 weeks of roasting. Properly stored beans (airtight container, cool, dark location) maintain quality reasonably well during this period.
Avoid pre-ground coffee entirely. The flavor degradation begins within minutes of grinding, making pre-ground espresso a poor value regardless of price. Your investment in a quality grinder pays dividends through flavor preservation.
Essential Accessories That Actually Matter 🔧
A focused accessory kit enhances your workflow without unnecessary expense. Here are the truly essential items that improve consistency and quality:
- Scale with timer: Precision is crucial for espresso. A basic 0.1g-accurate scale with timer functionality costs $20-$30 and dramatically improves consistency by allowing you to dose coffee accurately and time shots properly.
- Tamper: A properly-fitted tamper ensures even coffee bed density. Basic but quality tampers cost $15-$30. Ensure it matches your portafilter basket diameter precisely.
- Distribution tool: While optional initially, a simple WDT (Weiss Distribution Technique) tool—even DIY versions made from cork and thin needles—breaks up clumps and improves extraction evenness.
- Milk pitcher: If you enjoy milk drinks, a proper frothing pitcher ($15-$25) with volume markings helps create microfoam texture.
- Cleaning supplies: Backflushing detergent and group head brushes maintain machine performance and longevity.
Skip expensive accessories like elaborate leveling tools, fancy tamping stations, or premium dosing cups initially. These may offer marginal improvements but aren’t necessary for excellent espresso on a budget.
Building Your Workflow: Technique Over Equipment 🎓
Developing a consistent workflow maximizes your equipment’s potential. Even budget setups produce excellent results when operated with proper technique and attention to detail.
The Fundamental Espresso Recipe
Start with the classic espresso ratio: 1:2 in 25-30 seconds. This means 18g of coffee producing 36g of espresso in approximately 25-30 seconds. This baseline provides a reference point for adjustment based on taste preferences and bean characteristics.
Use your scale to measure both input dose and output yield. Measuring by volume is unreliable due to crema variations. Weighing ensures consistency and allows systematic adjustment when dialing in new beans.
Dialing In Your Espresso
Dialing in—adjusting variables to optimize extraction—is essential whenever you change beans or after equipment warms up. The primary adjustment tool is grind size. Finer grinds increase extraction and slow flow rate; coarser grinds do the opposite.
If your shot runs too fast (under 20 seconds) and tastes sour or weak, grind finer. If it runs too slow (over 35 seconds) and tastes bitter or harsh, grind coarser. Make small adjustments—grind setting changes have significant impact.
Temperature also affects extraction, but budget machines often provide limited temperature control. Focus on grind size and dose adjustments first, as these offer more accessible control points.
Sample Budget Setup Configurations 📊
Here are three budget-conscious configurations at different price points, each capable of producing genuinely enjoyable espresso:
| Setup Level | Machine | Grinder | Approximate Total |
|---|---|---|---|
| Starter | Flair Classic ($120) | 1Zpresso Q2 ($100) | $220 + accessories |
| Intermediate | DeLonghi Dedica ($300) | 1Zpresso JX-Pro ($160) | $460 + accessories |
| Advanced Budget | Breville Bambino ($350) | Eureka Mignon Notte ($300) | $650 + accessories |
Add approximately $50-$100 for essential accessories (scale, tamper, cleaning supplies) regardless of configuration. These setups prioritize the grinder-machine balance, ensuring neither component bottlenecks quality.
Money-Saving Strategies for Long-Term Success 💡
Beyond initial equipment purchases, smart practices reduce ongoing costs while maintaining quality.
Buy used equipment selectively. Manual espresso makers, grinders, and basic pump machines often appear on secondary markets at significant discounts. Inspect carefully for wear, and research common failure points for specific models before purchasing.
Proper maintenance extends equipment life dramatically. Regular cleaning prevents buildup that degrades performance and causes premature failure. Descaling machines according to manufacturer recommendations prevents costly internal damage from mineral accumulation.
Learn basic repairs and troubleshooting. Many common issues—gasket replacement, cleaning stuck components, adjusting grinder burr alignment—are manageable DIY projects that save expensive service fees.
Calculate your per-cup cost to maintain motivation. Even with quality beans at $15-$18 per pound, home espresso costs approximately $0.60-$0.80 per double shot compared to $3-$5 at cafés. Your equipment investment pays for itself surprisingly quickly with regular use.
Common Budget Espresso Mistakes to Avoid ⚠️
Learning from others’ mistakes saves both money and frustration. These common pitfalls trap many budget espresso beginners:
Prioritizing machine over grinder: The single biggest mistake is buying an expensive machine while using an inadequate grinder. Always allocate at least 40-50% of your budget to the grinder, or even more in very tight budgets.
Buying too cheap: While budget-consciousness is wise, extremely cheap equipment (sub-$100 “espresso” machines, blade grinders) cannot produce real espresso. These purchases waste money without delivering results, creating false expectations and disappointment.
Neglecting technique development: Equipment alone doesn’t make great espresso. Invest time learning proper dosing, distribution, tamping, and extraction principles. Free online resources and communities offer invaluable technique guidance.
Impatience with the learning curve: Espresso has a steep learning curve. Early shots may disappoint, but persistence pays off. Document your process, adjust systematically, and give yourself permission to learn gradually.
Upgrading Your Setup Over Time 🚀
One advantage of starting with budget equipment is the clear upgrade path as skills and budget grow. Prioritize upgrades based on your specific bottlenecks and preferences.
If you started with a manual machine, your first upgrade might be a pump machine for convenience and consistency. If grind quality limits your results, a better grinder transforms your espresso more than any other single upgrade.
Consider modular improvements rather than complete replacements. A PID temperature controller added to a basic machine improves thermal stability. An upgraded basket provides better flow characteristics. These incremental investments extend equipment life while improving results.
Join online espresso communities to learn about upgrade options, used equipment opportunities, and technique refinements. Communities like r/espresso on Reddit provide valuable insights from users at every skill and budget level.
Your Affordable Espresso Journey Starts Now ☕
Creating an excellent home espresso setup on a budget is absolutely achievable. The key lies in understanding what truly matters—grind consistency, fresh beans, and proper technique—rather than chasing expensive equipment or unnecessary features.
Start with equipment that matches your budget while maintaining quality where it counts. Develop your skills through practice and attention to detail. Join communities that support learning and improvement. Most importantly, remember that the best espresso setup is one you’ll actually use consistently, not the one that costs the most.
Whether you invest $200 or $600, the principles remain the same: quality grinding, proper technique, and fresh beans. Your perfect espresso workflow doesn’t require a premium price tag—just knowledge, patience, and passion for the craft. Start your journey today, and discover that exceptional espresso is far more accessible than you imagined.