Pour-over coffee doesn’t have to drain your wallet. With the right budget-friendly gear, you can brew café-quality coffee at home without the premium price tag that often intimidates beginners.
The specialty coffee world has a reputation for being expensive and intimidating, but the truth is that exceptional pour-over coffee is achievable with modest equipment. Whether you’re transitioning from automatic drip machines or exploring manual brewing for the first time, understanding which affordable tools deliver professional results makes all the difference. This guide will walk you through everything you need to start your pour-over journey without breaking the bank.
Why Pour-Over Coffee Deserves Your Attention ☕
Pour-over coffee offers unmatched control over your brewing process, allowing you to extract the nuanced flavors hidden in quality beans. Unlike automatic machines, manual brewing puts you in the driver’s seat, adjusting variables like water temperature, pour rate, and brew time to match your taste preferences perfectly.
The method isn’t just about taste—it’s also surprisingly forgiving for beginners. Despite its artisanal reputation, pour-over brewing follows straightforward principles that anyone can master with practice. The ritual itself becomes meditative, transforming your morning routine into a moment of intentional craftsmanship rather than autopilot button-pushing.
Best of all, quality pour-over equipment lasts for years with minimal maintenance. Unlike expensive espresso machines requiring regular servicing, a good dripper and kettle will serve you faithfully for decades, making the initial investment remarkably cost-effective over time.
The Essential Pour-Over Starter Kit Under $100
Building your pour-over setup doesn’t require hundreds of dollars. With strategic purchases, you can assemble everything needed for professional-quality brewing for less than a single month of daily café visits. Let’s break down the absolute essentials that deliver maximum value.
The Dripper: Your Coffee Brewing Foundation
The coffee dripper is your most important purchase, and fortunately, it’s also one of the most affordable. The Hario V60 plastic dripper costs under $10 and is used by world barista champions—proof that price doesn’t equal performance in this category. The conical design and spiral ridges create optimal water flow, while the plastic construction retains heat surprisingly well.
Alternative options include the Melitta pour-over cone (even cheaper at around $5-7) which uses readily available filters and offers a flatter bed for more consistent extractions. The Kalita Wave 185 represents a slight step up in price but provides exceptional consistency thanks to its flat-bottom design and three-hole drainage system.
For absolute beginners worried about technique, the Clever Coffee Dripper combines immersion and percolation brewing at around $25, offering more forgiving results while you develop your pouring skills. This hybrid approach eliminates many common beginner mistakes while still producing excellent coffee.
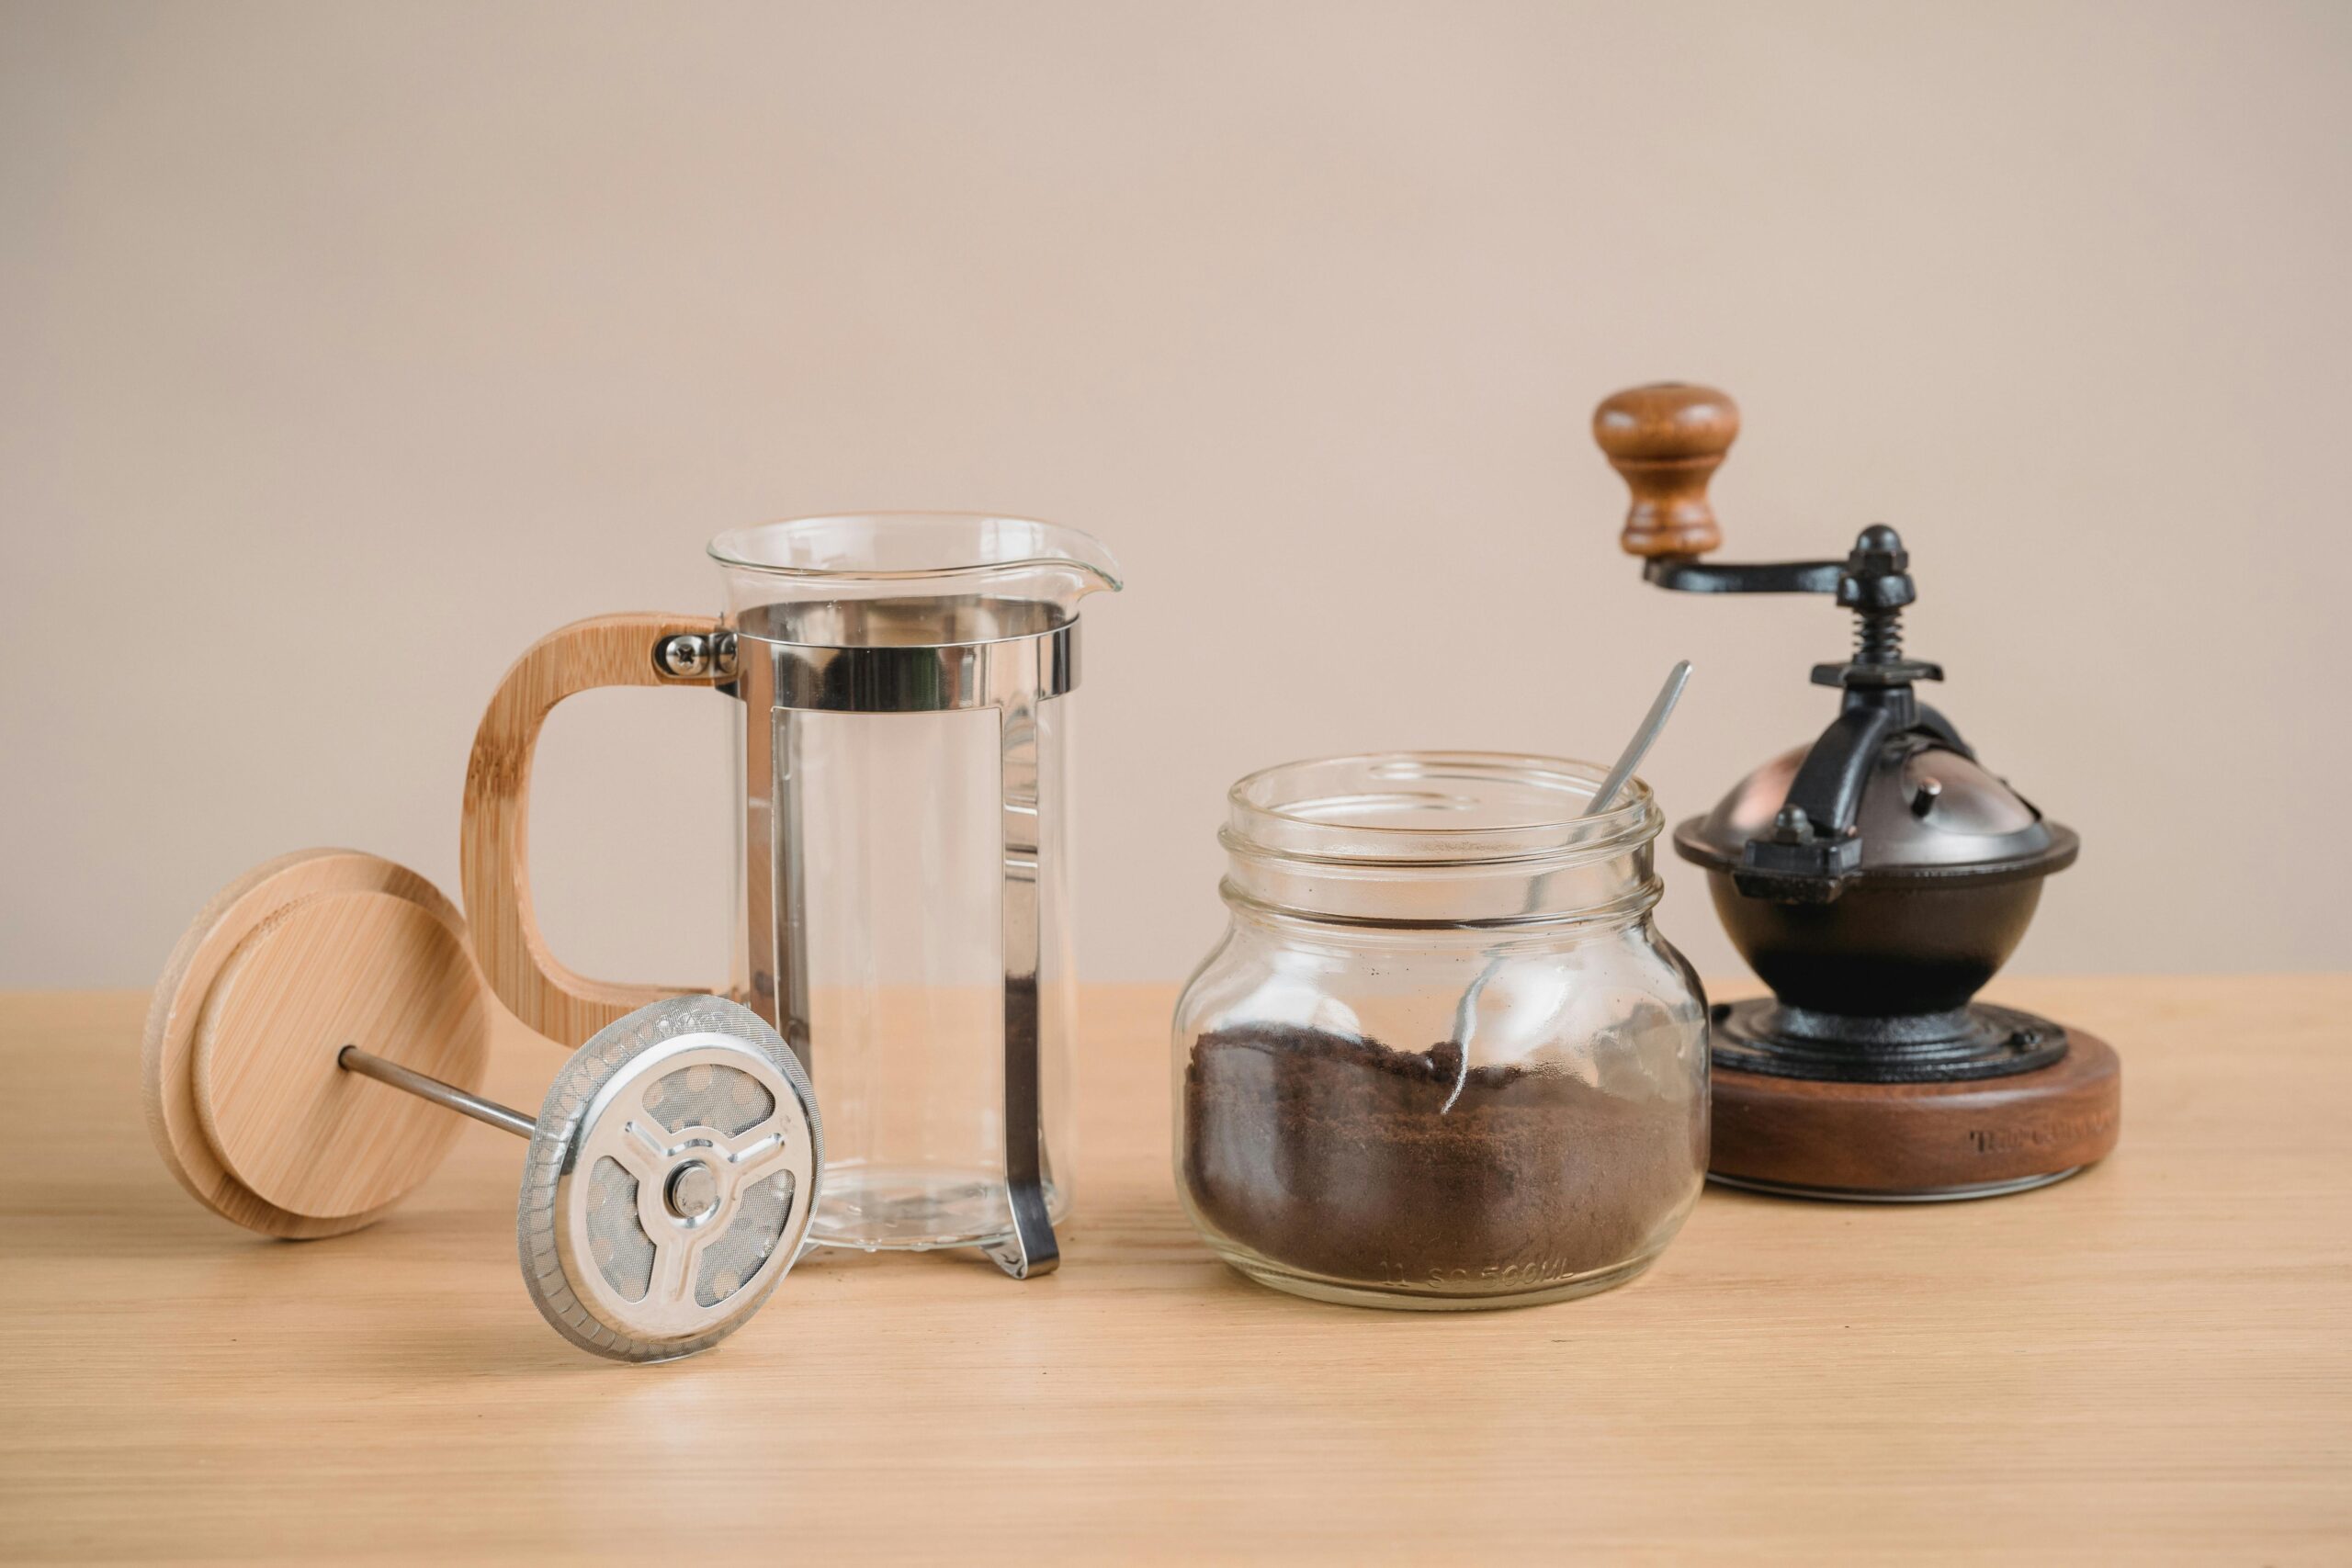
The Gooseneck Kettle: Precision Without the Premium
Controlled water flow separates good pour-over from mediocre attempts, making a gooseneck kettle essential. The good news? You don’t need an electric variable-temperature model to start. A simple stovetop gooseneck kettle from brands like Hario or Fino costs between $20-40 and provides the precise pouring control professionals use.
The long, narrow spout allows you to direct water exactly where you want it, maintaining consistent flow rates that extract coffee evenly. This precision is impossible with standard kettles, which dump water unpredictably and create channeling that ruins your brew.
If your budget allows for one upgrade, consider the Bonavita Electric Gooseneck Kettle at around $50-60. The built-in temperature control eliminates guesswork and holds your water at the ideal brewing temperature, though a simple thermometer paired with your stovetop kettle achieves similar results for less money.
The Grinder: Where You Should Invest More
Here’s the uncomfortable truth: your grinder matters more than any other equipment. Pre-ground coffee loses flavor within minutes of grinding, and inconsistent particle sizes create bitter, sour, or weak brews regardless of your technique. This is where strategic budget allocation makes the biggest difference.
The absolute minimum entry point is the Hario Mini Mill or Skerton hand grinder at around $30-40. These manual grinders require arm effort but produce adequate results for pour-over brewing. The consistency isn’t perfect, but it’s worlds better than pre-ground coffee or blade grinders that pulverize beans into dust.
If you can stretch your budget, the Timemore C2 hand grinder ($60-70) delivers dramatically improved consistency with less effort, while the Baratza Encore electric grinder ($140) represents the gold standard for entry-level electric grinding. Many serious home brewers consider the Encore the single best investment in their entire setup.
For those absolutely unable to invest in a grinder initially, purchase whole beans and have them ground at your local coffee shop. Request a “medium” grind for pour-over and use the coffee within 3-5 days for acceptable results while you save for proper grinding equipment.
The Supporting Cast: Small Items That Matter
Beyond the core trio of dripper, kettle, and grinder, several inexpensive accessories dramatically improve your brewing consistency and convenience. These items typically cost less than $10 each but punch well above their weight in value.
Digital Scale: The Secret to Consistency
A basic digital kitchen scale with 0.1-gram precision transforms your brewing from guesswork to repeatable science. Measuring coffee and water by weight rather than volume ensures consistency from cup to cup, letting you replicate successes and troubleshoot failures effectively.
Simple models from Amazon Basics or Ozeri cost $10-15 and work perfectly well. You don’t need coffee-specific scales with built-in timers—those luxuries are nice but unnecessary for excellent results. Look for a scale with a tare function and at least 2kg capacity to accommodate your dripper and server during brewing.
Timer: Your Smartphone Works Perfectly
Brew time significantly impacts extraction, making timing essential for consistency. Before spending money on dedicated timers, simply use your smartphone’s built-in clock app. It’s free, reliable, and always within reach during your morning routine.
Many coffee enthusiasts use dedicated brewing apps that combine timers with recipe guides and brewing notes. Apps like Filtru or Coffee Ratio Calculator help you track variables and refine your technique while timing your brews simultaneously.
Thermometer: Optional But Helpful
If you’re using a stovetop kettle without temperature control, a simple instant-read thermometer ($10-15) takes the guesswork out of water temperature. The ideal range for most coffee sits between 195-205°F (90-96°C), and overshooting by even 10 degrees can scorch delicate flavor compounds.
Alternatively, learn the timing method: bring water to a full boil, then let it rest for 30-60 seconds before brewing. This approximates the ideal temperature range without equipment, though consistency varies with ambient temperature and kettle material.
Filters and Coffee: Where to Splurge and Save
Paper filters are consumable expenses, but they’re remarkably affordable. A pack of 100 Hario V60 filters costs around $7-10, working out to less than $0.10 per brew. Generic unbleached filters often perform nearly as well for half the price, though premium filters like Cafec or Melodrip do offer marginally cleaner cups for those pursuing perfection.
Reusable metal or cloth filters eliminate ongoing filter costs but alter the final cup significantly. Metal filters allow more oils and fine particles through, creating fuller body but less clarity. Cloth filters require maintenance between brews but produce exceptionally clean cups with unique texture. For beginners, stick with paper filters until you develop clear taste preferences.
Coffee Bean Strategy for Budget Brewers
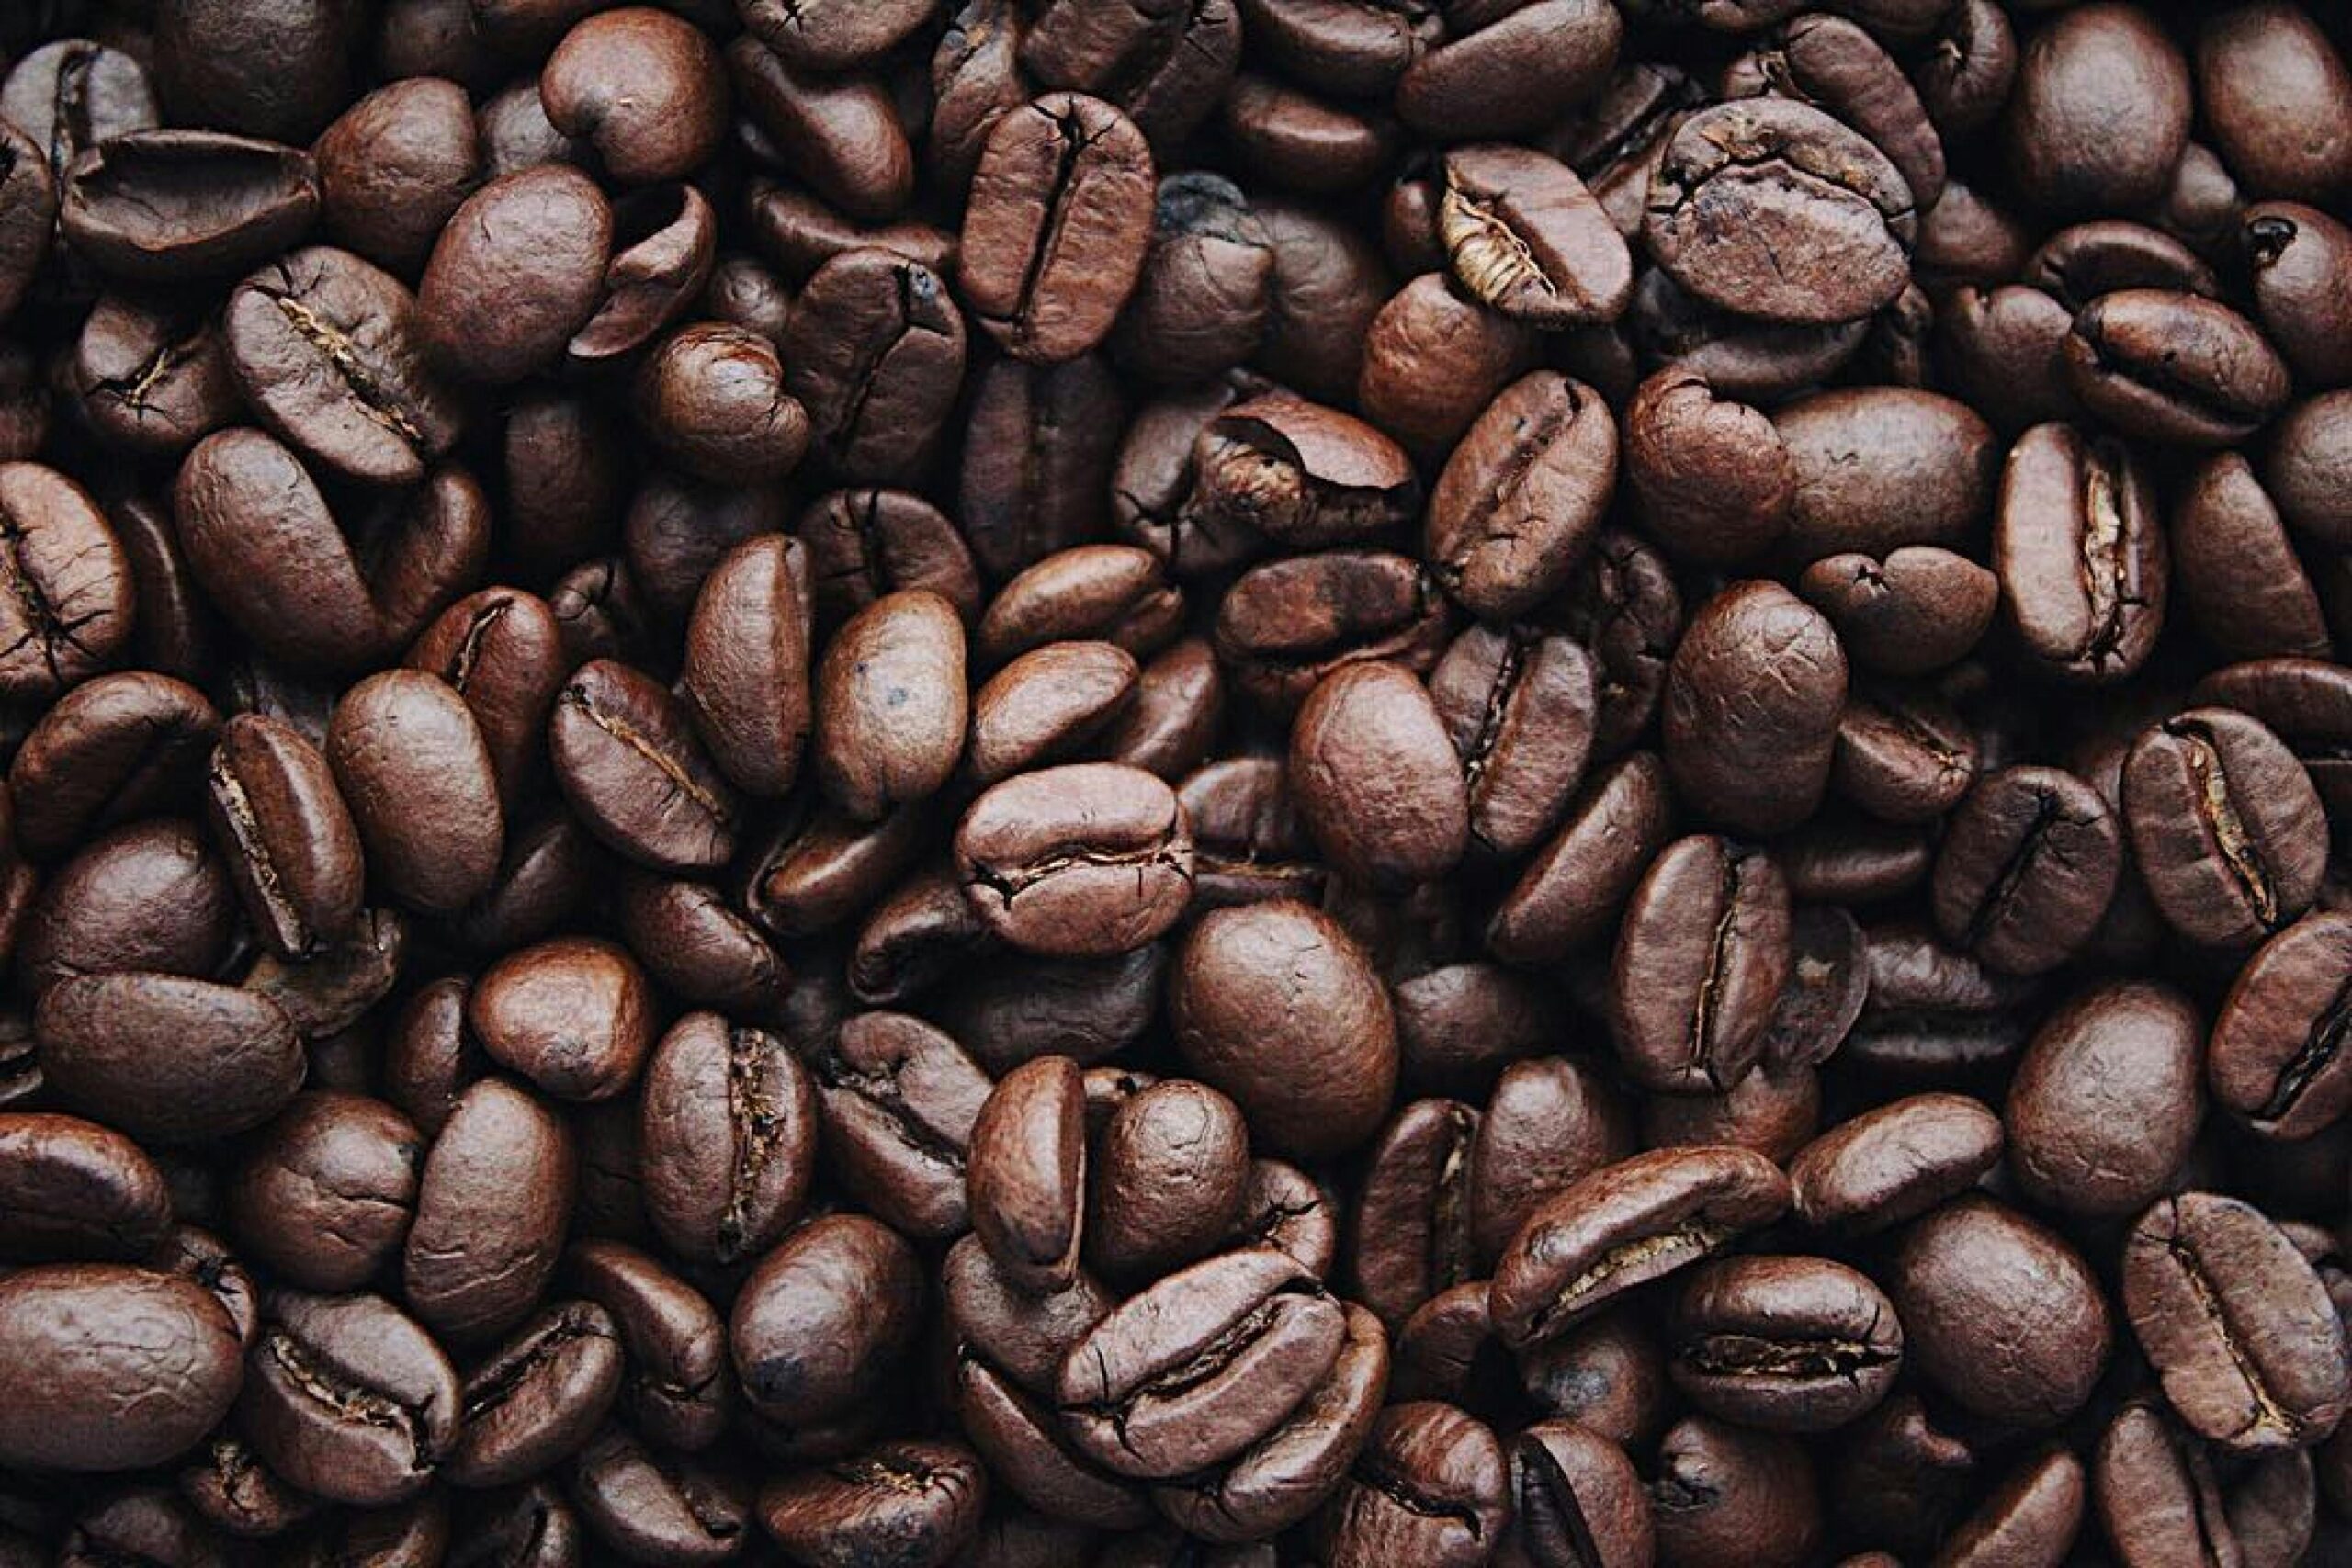
The best equipment in the world can’t fix stale or low-quality beans. Prioritize freshly roasted coffee from local roasters or reputable online sources, looking for beans roasted within the past two weeks. Surprisingly, many local roasters offer competitive pricing compared to supermarket “premium” brands that sit on shelves for months.
Buy in quantities you’ll consume within 2-3 weeks to maintain freshness without waste. Whole beans stay fresh longer than ground, making that grinder investment even more crucial. Store coffee in an airtight container away from light, heat, and moisture—a simple mason jar works perfectly and costs almost nothing.
Consider subscribing to coffee services that deliver freshly roasted beans at regular intervals. Many offer introductory discounts and the convenience eliminates the temptation to buy stale supermarket coffee when you run out unexpectedly.
Technique Tips That Cost Nothing 🎯
The most valuable improvements to your pour-over coffee don’t cost money—they require attention to detail and practice. These fundamental techniques separate disappointing brews from café-quality cups, regardless of your equipment budget.
The Bloom Phase: First Impressions Matter
Start every brew with a 30-45 second bloom by pouring just enough water (roughly twice the coffee weight) to saturate the grounds completely. This releases trapped carbon dioxide that would otherwise interfere with extraction, creating sour or weak coffee. Watch for the grounds to expand and bubble—this visual feedback tells you your coffee is fresh.
Pulse Pouring vs. Continuous Pour
Two main pouring approaches dominate pour-over technique. Pulse pouring involves adding water in several distinct stages, allowing the brew to nearly drain between additions. This method offers more control and slightly brighter acidity. Continuous pouring maintains constant water level throughout brewing, emphasizing body and sweetness.
Experiment with both approaches to discover your preference. Neither is objectively superior—professional baristas debate these methods endlessly. What matters most is consistency within your chosen technique, pouring with the same rhythm and pattern each time.
The Spiral Pattern: Coverage Is Everything
Pour in gentle spirals from the center outward, ensuring all grounds contact water evenly. Avoid pouring directly on the filter paper, which creates bypass channels where water shortcuts through without extracting coffee. Maintain a steady, pencil-thin stream rather than aggressive glugging that disturbs the coffee bed and creates uneven extraction.
Common Beginner Mistakes and Easy Fixes
Even with budget equipment, avoiding these common pitfalls immediately improves your results. Most beginners make the same mistakes initially—recognizing and correcting them accelerates your learning curve dramatically.
Using water that’s too hot or too cold: Boiling water scorches coffee, while lukewarm water under-extracts. Aim for 195-205°F consistently. If your coffee tastes bitter and harsh, your water is probably too hot. If it tastes sour and weak, your water isn’t hot enough.
Incorrect coffee-to-water ratios: Start with the golden ratio of 1:16 (1 gram of coffee to 16 grams of water) as your baseline. This typically translates to about 30g of coffee for 480g of water (roughly 16oz). Adjust from this foundation based on taste preferences rather than guessing wildly.
Grinding too fine or too coarse: Pour-over generally requires medium-fine grounds, similar to table salt texture. Too fine creates over-extraction and bitterness with painfully slow drip rates. Too coarse yields weak, sour coffee as water rushes through without proper extraction time.
Inconsistent timing: Total brew time for most pour-over methods should land between 2:30-4:00 minutes. Significantly faster or slower indicates grind size adjustment is needed. Track your times and maintain consistency for predictable results.
Upgrading Your Setup: What to Add Next
Once you’ve mastered the basics with your starter equipment, strategic upgrades can refine your results further. These additions aren’t necessary for great coffee but offer quality-of-life improvements or incremental taste enhancements worth considering when your budget allows.
An electric variable-temperature kettle ($50-100) eliminates the thermometer step and maintains precise temperatures effortlessly. The Bonavita and Fellow Stagg EKG represent opposite ends of this price range, both delivering excellent performance with different feature sets.
A dedicated coffee scale with built-in timer ($30-50) streamlines your workflow by combining two functions. Models from Hario, Timemore, and Brewista offer water-resistant designs and auto-timing features that start when they detect weight changes.
Additional drippers let you explore different brewing characteristics. The Chemex ($40-50) produces exceptionally clean cups with its thick proprietary filters, while the December Dripper ($30) offers simplified technique with consistent results. Collecting different drippers lets you match brewing methods to specific coffees and moods.
Building Skills Before Building Collections 💡
The specialty coffee world constantly tempts enthusiasts with beautiful equipment and gadget upgrades. Resist the urge to accumulate gear before mastering fundamentals with your basic setup. The most expensive equipment won’t fix technique problems, while solid technique produces exceptional coffee even with modest tools.
Focus on brewing the same coffee repeatedly until you achieve consistent, delicious results. Only then should you consider whether equipment upgrades would meaningfully improve your experience. Many home brewers discover their $10 plastic V60 produces coffee they love just as much as far more expensive alternatives.
Join online communities like Reddit’s r/Coffee or coffee-focused Discord servers where experienced brewers share techniques, troubleshoot problems, and offer honest equipment feedback. These resources cost nothing and dramatically accelerate your learning compared to isolated trial-and-error experimentation.
The Math: How Quickly Your Investment Pays Off
Let’s examine the actual economics of home pour-over versus café purchases. A daily $4 café coffee totals $1,460 annually—a sobering sum most people don’t consciously calculate. Meanwhile, a complete starter pour-over setup costs approximately $80-100 depending on your specific choices.
Quality whole bean coffee averages $12-18 per 12oz bag, producing roughly 20-24 cups at standard ratios. Your per-cup cost runs $0.50-0.75 for the coffee itself, plus negligible amounts for filters and water. Even factoring in the initial equipment investment, you break even within weeks of switching from daily café visits.
The savings become even more dramatic if you’re replacing multiple daily coffee purchases or expensive espresso drinks. A couple brewing two cups daily at home instead of buying them from coffee shops saves over $2,500 annually while enjoying fresher, personalized coffee.
Your First Brew: A Step-by-Step Walkthrough
Let’s put everything together with a simple recipe that works reliably with basic equipment. This method prioritizes consistency and forgiveness, allowing you to develop muscle memory before experimenting with advanced techniques.
Equipment needed: Dripper, paper filter, gooseneck kettle, scale, grinder, timer, and vessel to catch brewed coffee.
Recipe: 25g coffee, 400g water at 200°F, medium-fine grind (slightly finer than table salt).
Step 1: Rinse your paper filter with hot water to remove papery taste and preheat your dripper. Discard this rinse water.
Step 2: Add ground coffee to filter and shake gently to level the bed. Place dripper and server on scale, then tare to zero.
Step 3: Start timer and pour 50g water in spiral pattern from center outward, saturating all grounds. Let bloom for 30-45 seconds.
Step 4: At 0:45, begin pouring slowly in spirals until scale reads 200g total (including bloom water). Maintain steady, thin stream.
Step 5: At 1:30, pour to 300g total, maintaining spiral pattern and avoiding filter edges.
Step 6: At 2:15, pour to final 400g total. Coffee should finish dripping by 3:00-3:30 total time.
Step 7: Remove dripper, swirl brewed coffee gently to mix, and enjoy immediately for best flavor.
This straightforward recipe provides a reliable foundation. If coffee tastes too bitter or harsh, grind slightly coarser next time. If it tastes weak or sour, grind finer. Keep all other variables constant while adjusting grind size until you hit the sweet spot.
Beyond the Cup: The Lifestyle Benefits
Brewing pour-over coffee delivers rewards beyond the beverage itself. The manual process creates a mindful morning ritual that many practitioners find meditative and centering. In our autopilot culture, spending five intentional minutes crafting something with your hands provides rare moments of presence and focus.
The hobby connects you to a global community of coffee enthusiasts who share your appreciation for craft and quality. Whether through online forums, local coffee meetups, or simply striking up conversations with your favorite roaster, coffee culture offers rich social dimensions that enhance the solitary act of home brewing.
Learning pour-over technique develops broader skills in sensory evaluation, patience, and iterative refinement that transfer to other areas of life. The scientific approach to variables and adjustments trains systematic thinking, while the artistic elements of dialing in flavors nurtures creative expression.
Embrace the Journey, Not Just the Destination ☕
Your first attempts won’t rival championship-level brews, and that’s perfectly fine. Every professional barista started exactly where you are now, fumbling with unfamiliar equipment and producing inconsistent results. What separates those who excel from those who quit isn’t natural talent—it’s simple persistence and curiosity.
Treat each brew as an experiment rather than a test you can fail. Take notes on what worked and what didn’t, adjusting one variable at a time so you can identify cause and effect. Celebrate small victories like achieving your target brew time consistently or nailing the bloom phase, recognizing these building blocks lead to mastery.
Most importantly, enjoy the coffee you’re making right now rather than fixating on some hypothetical perfect cup in the future. Even imperfect home-brewed coffee, made with attention and quality ingredients, surpasses most commercial alternatives. You’re already winning by choosing to engage mindfully with your morning coffee rather than treating it as mere fuel.
The pour-over path proves that exceptional experiences don’t require exceptional budgets—just curiosity, patience, and willingness to learn. Your $80 starter kit can produce coffee that rivals any café if you invest time in developing technique and understanding fundamentals. Start simple, stay consistent, and watch as your modest equipment and growing skills transform your daily coffee from routine necessity into genuine pleasure. Welcome to the deeply satisfying world of pour-over coffee brewing.